Getting Started with Sentinel

This tutorial will cover the basic setup of your Sentinel application, including:
- Creating your first Device.
- Optional: Selecting Sensors for this Device.
- Configuring Notifications.
This assumes you have already installed the Sentinel network monitoring application in your Iconico organization. If you haven't completed this step, you might want to read this first:
Log in to Sentinel, this will be under https://sentinel.iconico.us/ followed by your organization's code.
Creating your first Device
Creating devices is straightforward, but the information needed can be somewhat extensive, here is what you need to do:
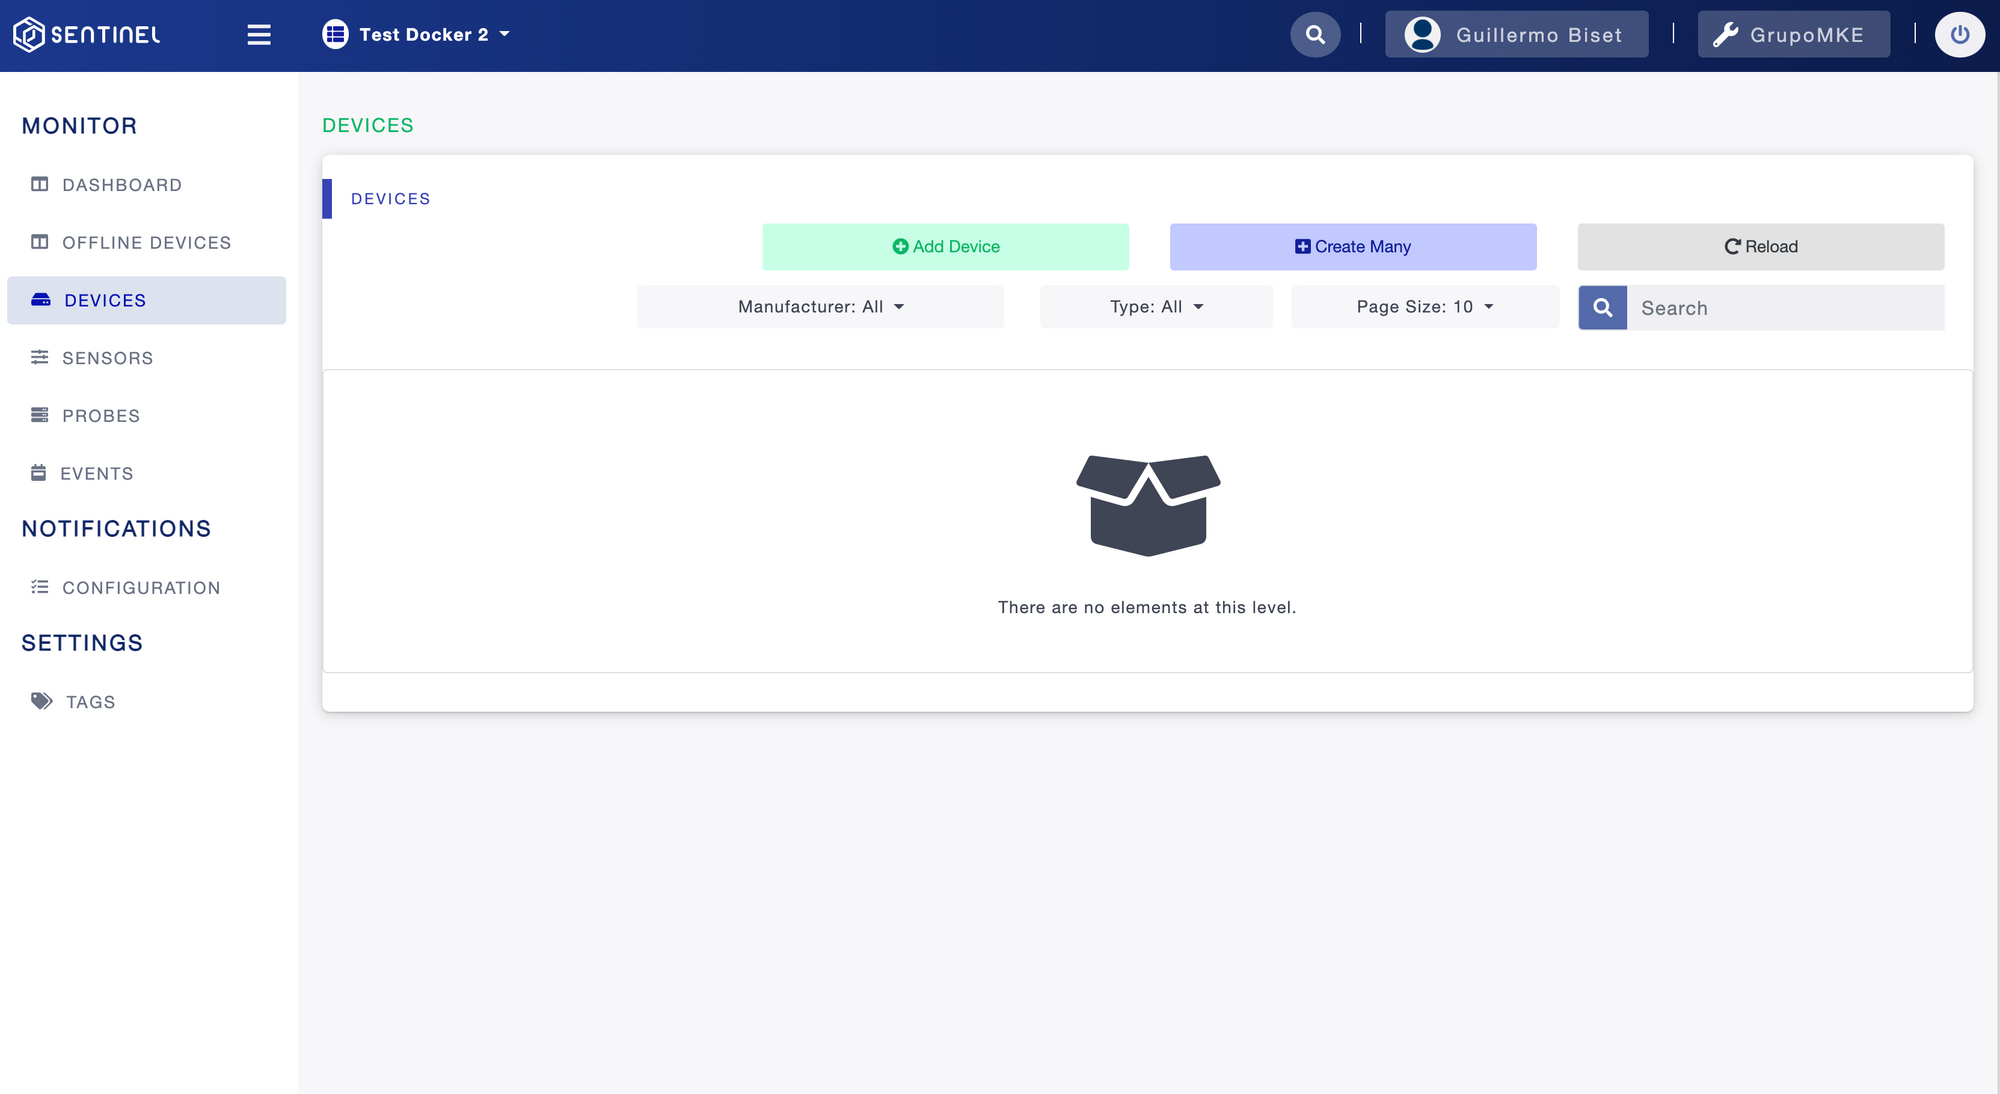
- Select Devices at the left navigation panel, your device list should be empty.

- Select Add Device.
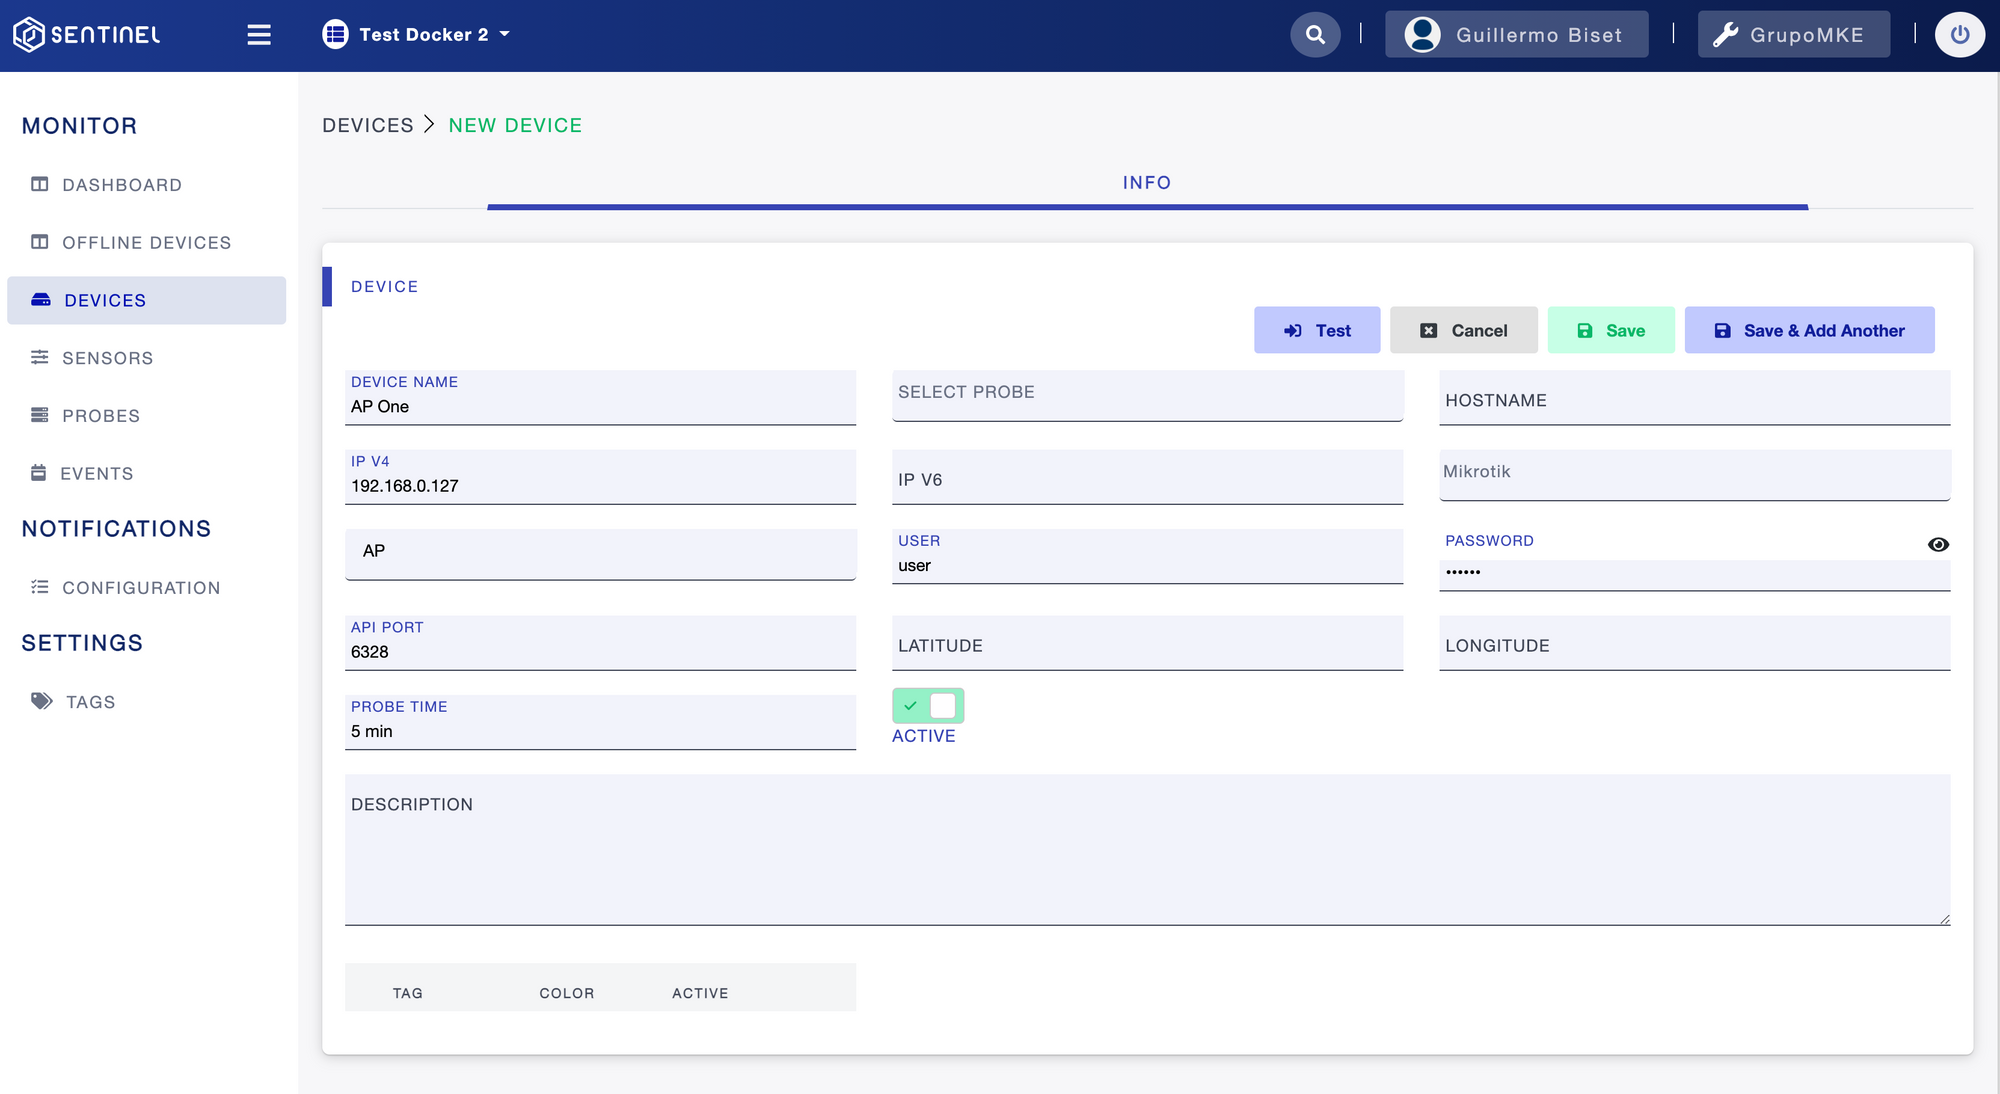
- Fill out the form with the required information.
- Optionally select Test Login if you want to make sure the credentials and IP you are entering are correct.
- Select Save if you don't want to add more devices, or Save & Add Another if you want to continue adding devices.

Note: If you don't have more than one probe, you will not see a Probe dropdown at the right of the navigation button at the top left.
Your device should appear on the list of devices for the selected probe:
Optional: Selecting sensors for your first device
Navigate to the sensors page in Sentinel by selecting Sensors on the left navigation panel.
This screen provides an overview of selected sensors per device:
By default, new devices only include the Latency family of Sensors, this includes:
- rtt_avr: Round Trip Time Average
- host_live: Host Live (Boolean).
- pck_lost: Packet Loss Percentage.
There are many sensor families supported by Sentinel, each provides a different set of data that can be monitored for each device.
Note: selecting sensors might increase your monthly cost of the Sentinel application, which is priced on a per usage basis.
Note: Some sensor families don't simply add a fixed amount of new sensors, they might depend on the number of interfaces on your devices, which could increase your monthly bill considerably. Contact use if you have any doubts.
In order to start gathering (and then viewing) information gathered from these sensors, you need to make sure that you install the probe application in your network and connect it to the Probe where these devices are created, this will be covered in another tutorial.
Configuring Notifications
Sentinel can notify you of a myriad of events in your network, some of them are static (e.g. a Device is down, not reachable) and some of them are conditional based on a particular circumstance (e.g. the latency to a device exceeds 100ms).
In this section we'll configure Sentinel to send you an Email when the latency (round trip time) to the device you just created exceeds 100 milliseconds.
Open the Configuration entry under the Notifications section that is part of the left navigation panel, you should see an empty list of actions, as there are no notifications configured yet.
Select Add Action and complete the form, the information you need to provide is fairly complex, but as simple as we can make it for specific events:
- Select the device.
- Select the sensor family from which you want to be notified
- Then either select the event from a list of preconfigured events (e.g. device rebooted) or the sensor if you want to make a trigger condition (e.g. latency is over 100 ms).
- Then select how you want to be notified: Email, Text Message, Slack Channel, Telegram Channel.
- Optionally, on Email and Text Messages you need to select whether you want to notify a team (by way of Tagged users) or an individual.
By way of example, let's configure that we want to be notified by Email when the device we just created has a latency of over 100 ms of round trip time:
Save this and you will see your action configured and ready to fire whenever this event is detected in the network: